Zip Screen Installation and Maintenance Guide for Installers
Last updated:
Installing a zip screen comes down to five stages: measure the opening, fix the housing and side rails, connect the motor, thread the fabric into the rails, then test and commission. Most problems come from the first and second stages, so this guide spends most time on measuring and on the structure that carries the rails.
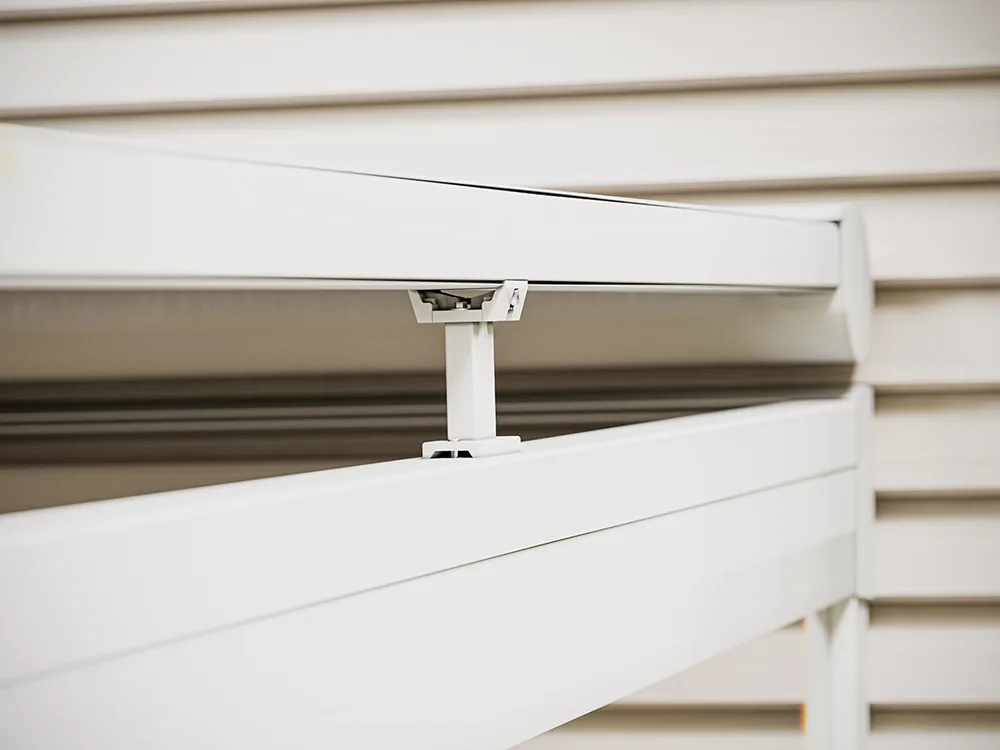
Mounting bracket close-up on a spring ceiling zip screen fixed to a pergola frame
Who this guide is for
It is written for dealers, contractors and facility teams who handle zip screens made by our manufacturing partner in Türkiye, not for home decorators. The content you will find online under "zip curtain installation" is usually about an indoor curtain rail screwed to a wall, which is a different product. An outdoor zip screen has side channels that take wind load, a motor, and fabric that is fitted under tension. The generic points that do carry over are simple and are included here: check the wall or frame first, make sure it is level and sound, fix securely and look at nearby cables before you drill.
Always follow the manufacturer's drawings for your model. The guide below is the common sequence, not a replacement for them. Model-specific details are in the pages for Sky 1500, Sky 1600 and outdoor facade screens.
Step 1: Plan and measure
Good planning saves more time than any other step.
- Measure width and height in several places. Walls and frames are rarely square. Take width at the top, middle and bottom, and height on the left, middle and right. Use the smallest figure that fits your mounting method, and note differences.
- Check the diagonals. Equal diagonals mean a square opening. A large difference warns you that the rails will not run parallel unless the fixing surface is corrected.
- Decide the mounting type. Fix to the face of the wall, inside the reveal, to the underside of a roof or beam, or to the pergola frame. The choice affects dimensions and where the side rails sit.
- Check clearances. Allow for the housing, the bottom bar, window handles, gutters and any furniture that sits near the screen.
- Locate power. Note where the motor cable will run and where the supply comes from.
- Record structure. Photograph the surface and note the material: masonry, aluminium, steel, timber or glass frame.
Step 2: Prepare tools and check the surface
Typical items are a measuring tape, spirit level, drill with suitable bits, fixings and screws for the substrate, end caps, a wire cutter, and a ladder or platform rated for the height. Bring spare end caps and sealing parts.
Before drilling:
- Make sure the wall or frame is sturdy enough to carry the rail and the wind load transferred through it.
- Check that the surface is flat and level. If it is not, pack or shim rather than pulling the rail straight with the screws.
- Look for pipes and cables behind the surface.
- Put safety measures in place for working at height.
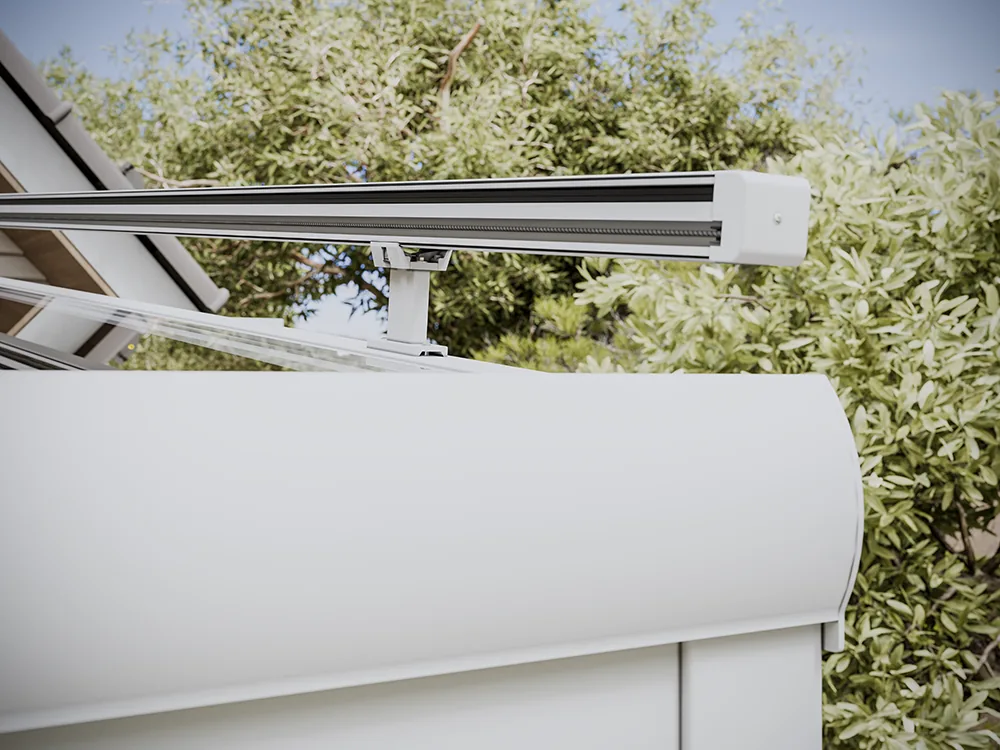
Rail corner close-up of a spring ceiling zip screen showing how the channel meets the housing
Step 3: Fix the housing and side rails
Mount the housing (the cassette or head box) first, then the side rails. Hold them true with a level, mark, drill and fix. Rails must be parallel and plumb or level as the model requires, with the gap between them matching the fabric. On ceiling screens, rails follow the roof line, so check slope and drainage at this point. Fit end caps once the rails are fixed, and tighten screws and end caps firmly.
Step 4: Motor and wiring notes
Motorised units are the norm on larger openings.
- Wiring must be done by a qualified electrician under local regulations, with the cable protected outdoors and joints made in suitable enclosures.
- Set the upper and lower limits so the bottom bar stops where intended. A screen that over-runs strains its fabric, and one that stops short leaves a gap.
- Remote control is standard. If the screen will be part of a smart system, agree the control type before the order so the right receiver is supplied.
- Sun, wind and rain sensors are optional. They let the screen retract in gusts and extend in strong sun; wind sensors are strongly advised for exposed sites.
- Manual drives are suitable only for small openings.
Step 5: Fit the fabric and zip
With the rails and motor in place, the fabric is fed into the side channels through the zip system, usually from the top. Keep the bead aligned in both channels and pull gently so it seats along its full length. Check that the fabric moves evenly on both sides, and adjust if one edge runs ahead. Fit the bottom bar and its end caps.
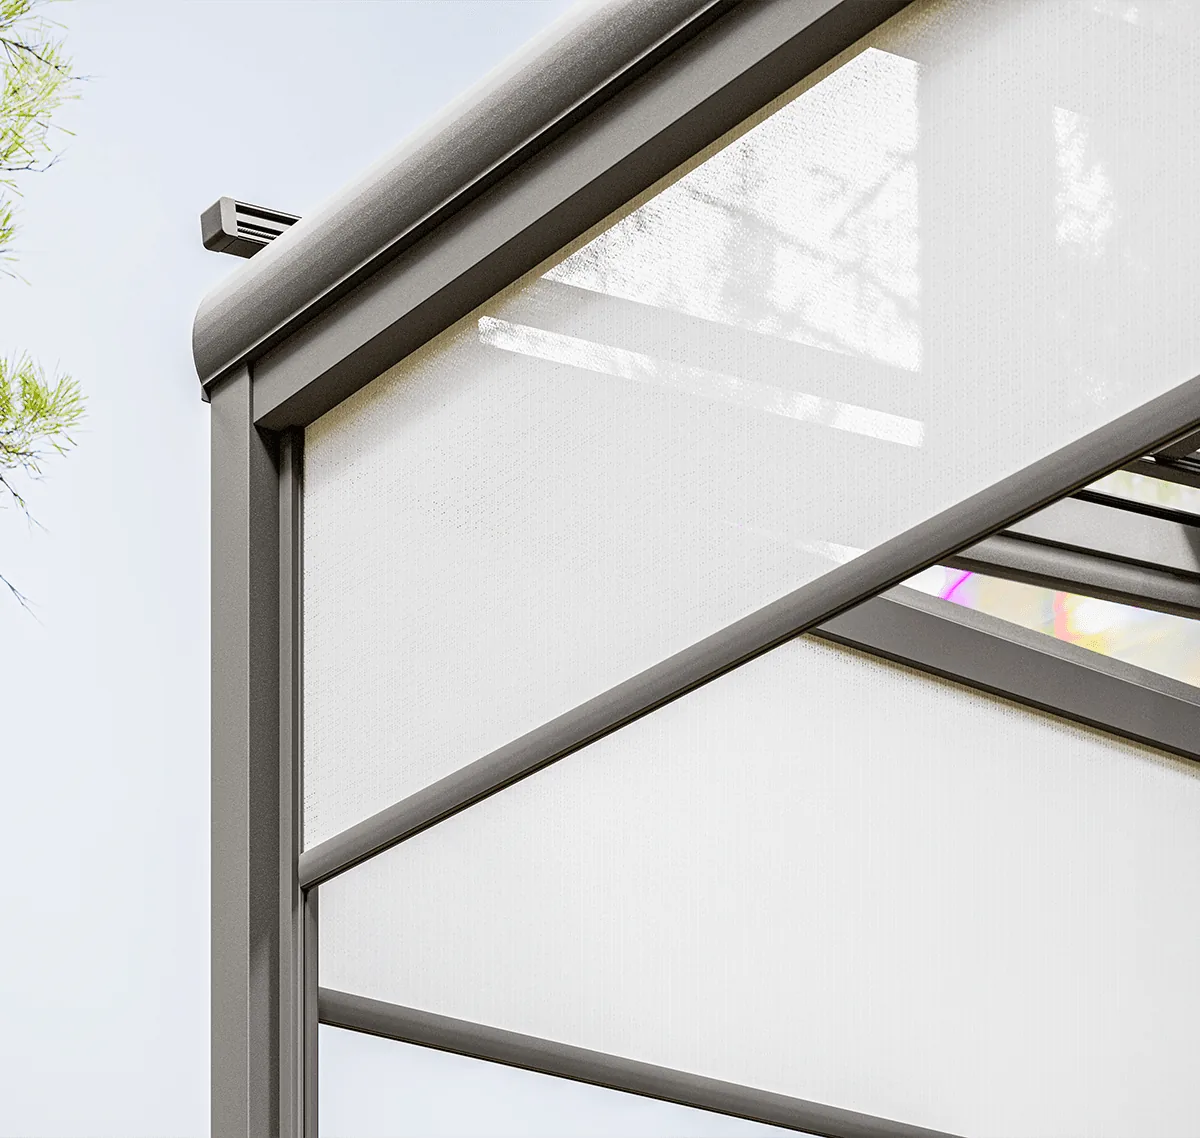
Facade zip screen corner close-up showing rail, fabric edge and bottom bar
Step 6: Test and commission
Run the screen several times: full open, full close, stop at mid-travel. Watch for rubbing, uneven fabric, noise, or a bottom bar that sits crooked. Confirm that sensors act as intended. Hand over operating instructions and show the customer how to retract the screen manually if power fails, where that is possible.
Installation checklist
| Check | Pass condition |
|---|---|
| Opening measured | Width and height taken in several places |
| Diagonals | Equal, or difference corrected |
| Fixing surface | Sound, level, free of hidden services |
| Housing and rails | Fixed, parallel, tight |
| End caps | Fitted and secure |
| Wiring | Done by an electrician, protected |
| Limits | Set at both ends |
| Fabric | Seated in both channels |
| Operation | Smooth, quiet, even |
| Sensors | Tested if fitted |
Maintenance
- Fabric: brush loose dirt when dry, then wash with mild soap and a soft brush, rinse and let it dry. Keep solvents, bleach and pressure washers away from it.
- Rails: clear dust and leaves from the channels so the zip bead runs freely; do not lubricate with products that attract dirt.
- Hardware: check fixings, brackets and end caps after the first weeks and then each season.
- Drainage: keep drain points on facade and ceiling units clear.
- Motor and sensors: test the limits and sensors at the start of each season.
- Coastal sites: rinse with fresh water more often.
Common faults
| Symptom | Likely cause |
|---|---|
| Fabric binds in the rail | Rails not parallel, or debris in the channel |
| Bottom bar crooked | Limits mis-set, or fabric seated unevenly |
| Gap at one side | Opening out of square and not compensated |
| Noise in wind | Loose fixings, or screen left deployed in a storm |
| Motor stops early | Limits set too tightly |
Frequently Asked Questions
Can a zip screen be installed by one person?
Small units can be, but most installations need two people, because the housing is long and must be held level while it is fixed.What surfaces can the rails be fixed to?
Masonry, aluminium, steel, timber or glazing frames can all work with the right fixings. State the material in the enquiry so the manufacturer supplies suitable brackets.How long does installation take?
It depends on the number of screens, access and wiring. Ask for an installer estimate from the manufacturer after sending drawings.Who does the wiring?
A qualified electrician, following local regulations.What if the fabric is damaged?
It can be replaced without replacing the rails or housing.Request a quote and ask the manufacturer for the drawings and installation instructions for your model.
Related: Outdoor facade zip screens · Sky 1500 spring ceiling screen · Zip screen motorization · Fabric collection · Selection guide